development:system:elk-stack
Table of Contents
Cài đặt
Cài đặt elasticsearch
(venv) tungnt@MacBook-Pro-cua-Nguyen-2 Downloads % cd elasticsearch-8.15.0
(venv) tungnt@MacBook-Pro-cua-Nguyen-2 elasticsearch-8.15.0 % bin/elasticsearch
...
✅ Elasticsearch security features have been automatically configured!
✅ Authentication is enabled and cluster connections are encrypted.

ℹ️  Password for the elastic user (reset with `bin/elasticsearch-reset-password -u elastic`):
  Btnk1NrI3-I5X_dt0FmU

ℹ️  HTTP CA certificate SHA-256 fingerprint:
  c1542cd24b1615552f06780a36a20557b6e9539ddb71abcf358e504ffcb61395

ℹ️  Configure Kibana to use this cluster:
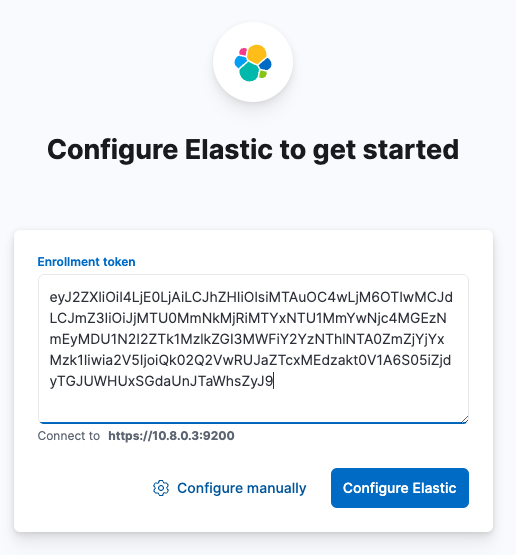
• Run Kibana and click the configuration link in the terminal when Kibana starts.
• Copy the following enrollment token and paste it into Kibana in your browser (valid for the next 30 minutes):
  eyJ2ZXIiOiI4LjE0LjAiLCJhZHIiOlsiMTAuOC4wLjM6OTIwMCJdLCJmZ3IiOiJjMTU0MmNkMjRiMTYxNTU1MmYwNjc4MGEzNmEyMDU1N2I2ZTk1MzlkZGI3MWFiY2YzNThlNTA0ZmZjYjYxMzk1Iiwia2V5IjoiQk02Q2VwRUJaZTcxMEdzakt0V1A6S05iZjdyTGJUWHUxSGdaUnJTaWhsZyJ9

ℹ️  Configure other nodes to join this cluster:
• On this node:
  ⁃ Create an enrollment token with `bin/elasticsearch-create-enrollment-token -s node`.
  ⁃ Uncomment the transport.host setting at the end of config/elasticsearch.yml.
  ⁃ Restart Elasticsearch.
• On other nodes:
  ⁃ Start Elasticsearch with `bin/elasticsearch --enrollment-token <token>`, using the enrollment token that you generated.
...
Nếu báo lỗi Privacy and security file jdk.app, dùng lệnh sau:
(venv) tungnt@MacBook-Pro-cua-Nguyen-2 elasticsearch-8.15.0 % xattr -d com.apple.quarantine jdk.app
Cài đặt kibana
tungnt@192 Downloads % xattr -d com.apple.quarantine kibana-8.15.0
tungnt@192 Downloads % cd kibana-8.15.0
tungnt@192 kibana-8.15.0 % bin/kibana
...
i Kibana has not been configured.

Go to http://localhost:5601/?code=308808 to get started.
https://www.elastic.co/guide/en/observability/current/logs-metrics-get-started.html
Download file CSV
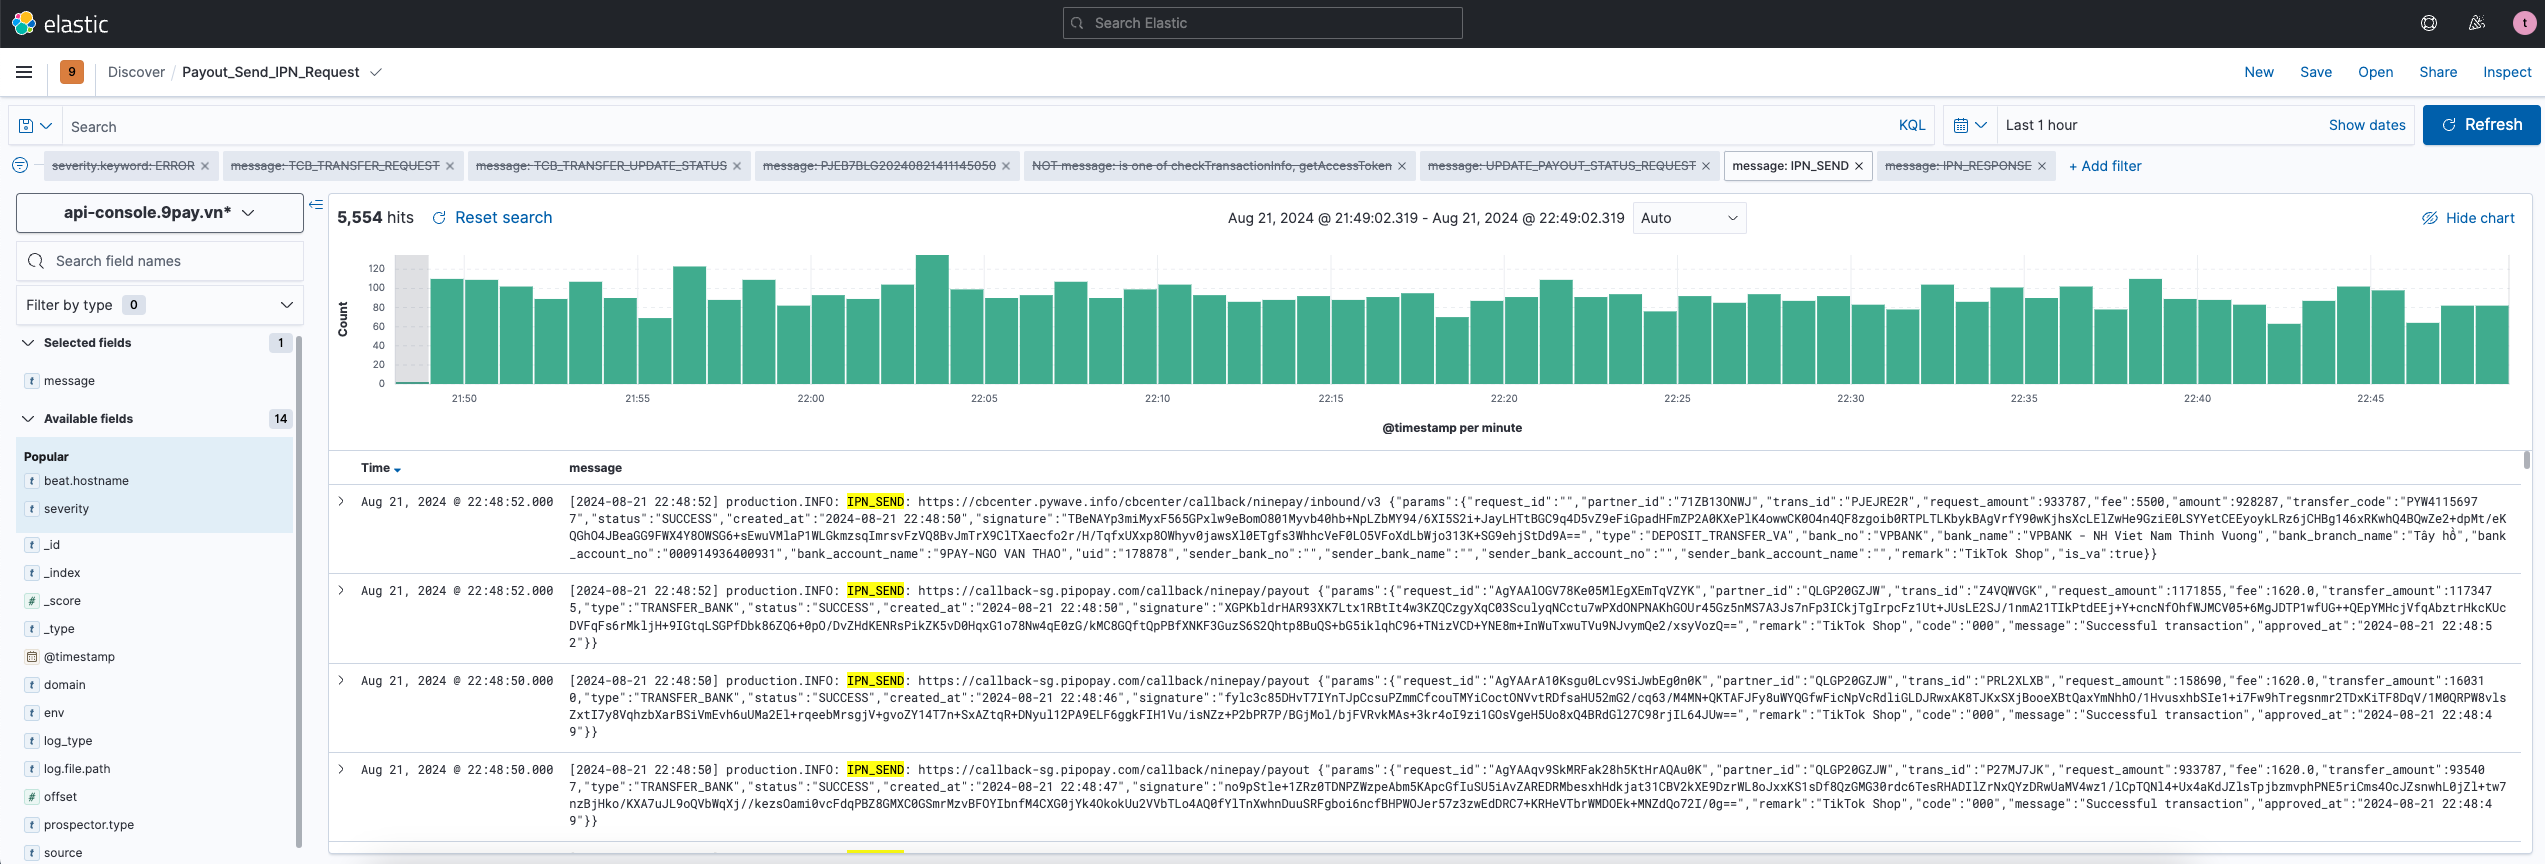
Bước 1: Filter theo ý muốn
Bước 2: Click button Save để lưu query vừa filter lại
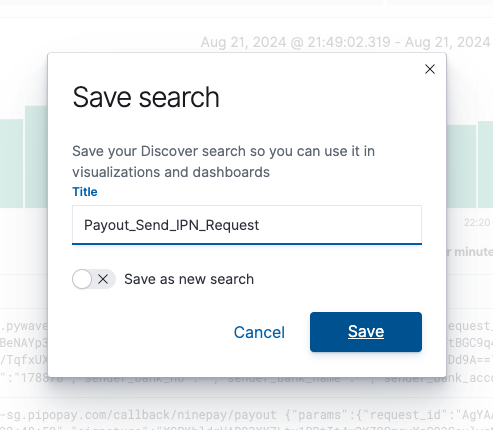
Bước 3: Màn hình hiển thị Popup xác nhận, tiếp tục click button Save
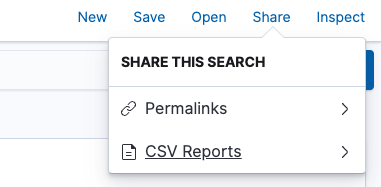
Bước 4: Click button Share > CSV Reports
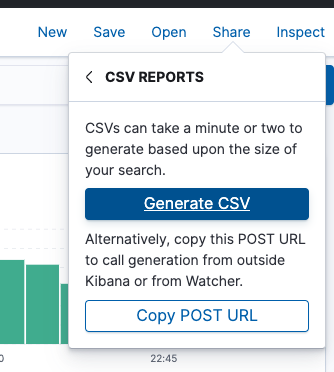
Bước 5: Tiếp tục click button Generate CSV
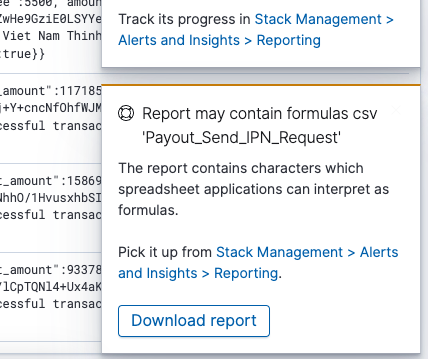
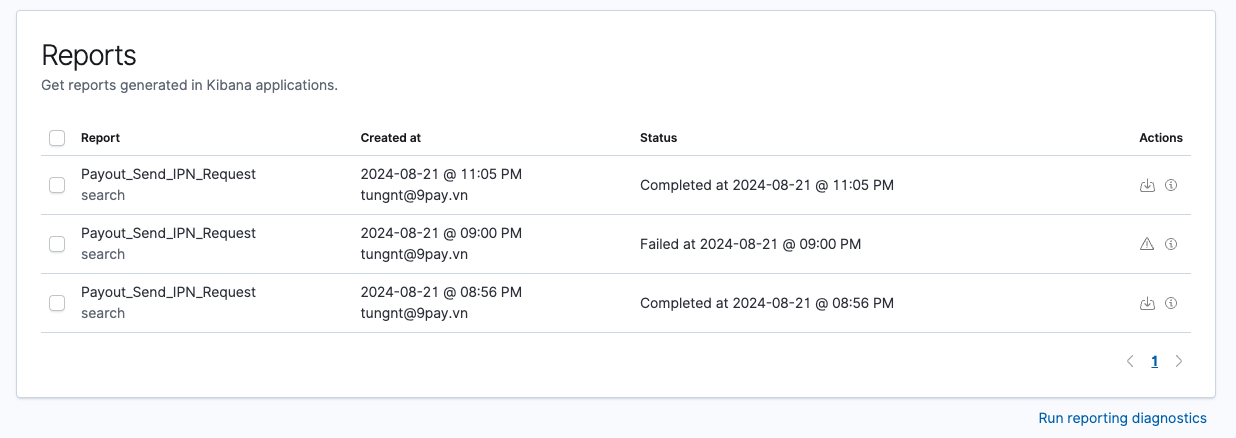
Bước 6: Màn hình hiển thị Popup thông báo Queue Download, click vào link để vào trang Report hoặc chờ xong click vào button Download
Bước 7: Download file CSV
Creating fields on the fly in Kibana with runtime fields
Tham khảo
development/system/elk-stack.txt · Last modified: by tungnt


